매크로 공격 방지를 위한 Recaptcha 기술을 사용하는 방법에 대해서 알아보자
Google Recaptcha를 사용한다.
https://github.com/springload/wagtail-django-recaptcha
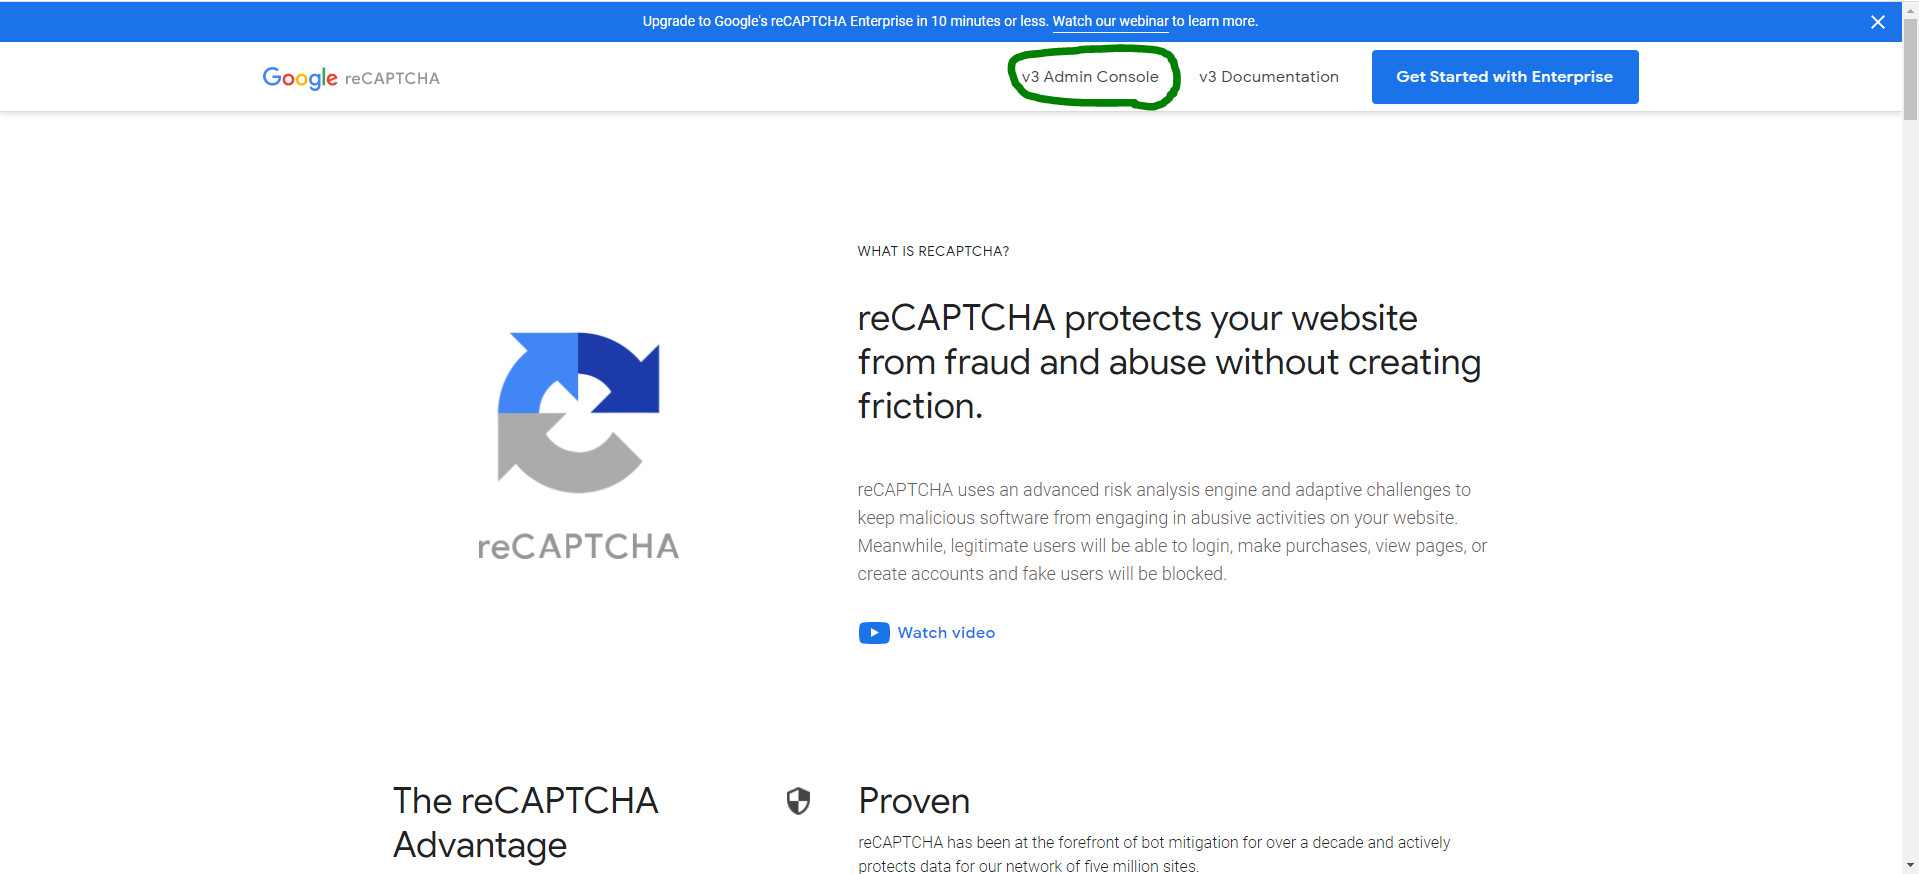
1. Google Recaptcha 접속
https://www.google.com/recaptcha/about/


새로 Recaptcha를 생성하고 사이트 Key와 비밀 Key를 따로 저장 해 놓는다.
2. 모듈 설치
pip install django-wagtail-recaptcha
3. settings/base.py 수정
INSTALLED_APPS = [
	...
	'captcha',
      'wagtailcaptcha',
]

...

RECAPTCHA_PUBLIC_KEY = "사이트 KEY"
RECAPTCHA_PRIVATE_KEY = "비밀 KEY"
NOCAPTCHA = True
captcha는 2번에서 설치한 패키지 모듈이고 wagtailcaptcha는 captcha 모듈 기반의 wagtail captcha이다.
그리고 아까 Google Recaptcha에서 가져온 키를 넣는다.
4. Models.py 수정
from wagtailcaptcha.models import WagtailCaptchaEmailForm


class ContactPage(WagtailCaptchaEmailForm): # AbstractEmailForm

    template = 'contact/contact_page.html'

    intro = RichTextField(blank=True)
    thank_you_text = RichTextField(blank=True)

    content_panels = AbstractEmailForm.content_panels + [
        FieldPanel('intro'),
        InlinePanel('form_fields', label="Form Fields"),
        FieldPanel('thank_you_text'),
        MultiFieldPanel([
            FieldRowPanel([
                FieldPanel('from_address', classname="col6"),
                FieldPanel('to_address', classname="col6")
            ]),
            FieldPanel("subject"),
        ], heading="Email Settings"),
    ]
기존에 AbstractEmailForm로 만들었던 Contact Page를 WagtailCaptchaEmailForm로 바꿔주자.

'Back-End > Wagtail, Django' 카테고리의 다른 글
| Wagtail Ajax Template (0) | 2021.12.01 |
|---|---|
| Wagtail Cache (0) | 2021.11.28 |
| Wagtail Rich Editor Extend (0) | 2021.11.27 |
| Wagtail API v2 Serializing Rich Text (0) | 2021.11.25 |
| Wagtail API v2 Serializing a QuerySet (0) | 2021.11.25 |